Low-end configuration
This guide shows how to configure the TomTom Maps and Navigation SDK for low-end devices using the Standard Map Display renderer. Use this guide when your target devices cannot meet the hardware requirements of the Premium Map Display, as defined in the requirements and recommended tools. Both Standard and Premium renderers use almost identical configuration steps. The key difference is the dependency: you must use the Standard Map Display dependency instead of the Premium Map Display dependency.
This guide covers two APIs offered by TomTom: the TomTomMap Composable and the MapView-based API (the latter is available only in the Extended flavor). The requirements sections below apply to both setups.
Requirements and recommended tools
Before proceeding with the project setup, ensure that your project meets the following requirements:
- Android ABIs: arm64-v8a and x86_64.
- Android API Level:
- Min SDK Version: 26 (Android 8.0 “Oreo”) or above.
- Compile SDK Version: 35 (Android 15) or above.
- NDK: version 26; other major versions may not be compatible.
- Java: version 8 or later for
sourceCompatibilityandtargetCompatibility. - Kotlin: version 1.8.0 or later.
- OpenGL ES: 3.0 support.
For an optimal developer experience, we recommend using the following tool versions as used in our sample projects and code snippets:
- Android Studio Otter Feature Drop 2 | 2025.2.2 or higher.
- JDK version 17.
- Android Gradle plugin version 8.13.2.
- Gradle version 8.14.4.
Android Emulator compatibility
To prevent potential errors during app start-up with the Standard Map Display, it is important to ensure that OpenGL ES 3.0 support is enabled in the Android Studio emulator. If your emulator supports it, navigate to Settings, choose “Renderer maximum (up to OpenGL ES 3.1)” for the “OpenGL ES API level (requires restart)” field, and then restart the emulator to apply the changes.
Project setup
Configure your project as described in the Project setup. Note that the requirements listed in this document take precedence over those in the general project setup guide.
Jetpack Compose
Initialize the Maps and Navigation SDK
The first step is to initialize the SDK with online-only configuration. Refer to the online navigation with local cache on how to do that.
Showing the map
With the Maps and Navigation SDK successfully initialized, it is time to display a map in your app. Replace the default composables with new composables that render the map and enable basic map functionality.
Step 1: Add the Standard Map Display Dependency
The primary difference when configuring for low-end devices is using the Standard Map Display dependency instead of the Premium Map Display. First, add the necessary dependencies to your project. Update your application’s build.gradle.kts file:
implementation("com.tomtom.sdk.maps:map-display-compose-standard:2.5.3")Step 2: Create a Map Composable
Once the dependencies are configured, you can use the TomTomMap to display the map in your application. The TomTomMap object provides access to key map functionalities, such as adding markers, adjusting the camera position, and customizing map styles.
Here is an example of a composable function that sets up and displays the map:
private val TOMTOM_AMSTERDAM_OFFICE = GeoPoint(latitude = 52.3772449, longitude = 4.9097159)private const val INITIAL_CAMERA_ZOOM = 12.0
@Composablefun MapScreen() { val initialCameraOptions: InitialCameraOptions = InitialCameraOptions.LocationBased( position = TOMTOM_AMSTERDAM_OFFICE, zoom = INITIAL_CAMERA_ZOOM, ) val mapDisplayInfrastructure = MapDisplayInfrastructure( sdkContext = TomTomSdk.sdkContext, ) { locationInfrastructure = MapLocationInfrastructure { locationProvider = TomTomSdk.locationProvider } } val mapViewState = rememberMapViewState(initialCameraOptions = initialCameraOptions)
TomTomMap( state = mapViewState, infrastructure = mapDisplayInfrastructure, )}The map can be configured using different attributes. Read more about this in the Map Configuration guide.
Step 3: Display the Map in MainActivity
Once you have the composable function ready, call it from your Activity onCreate() method to render the map:
setContent { MapScreen()}Step 4: Build and Run Your Application
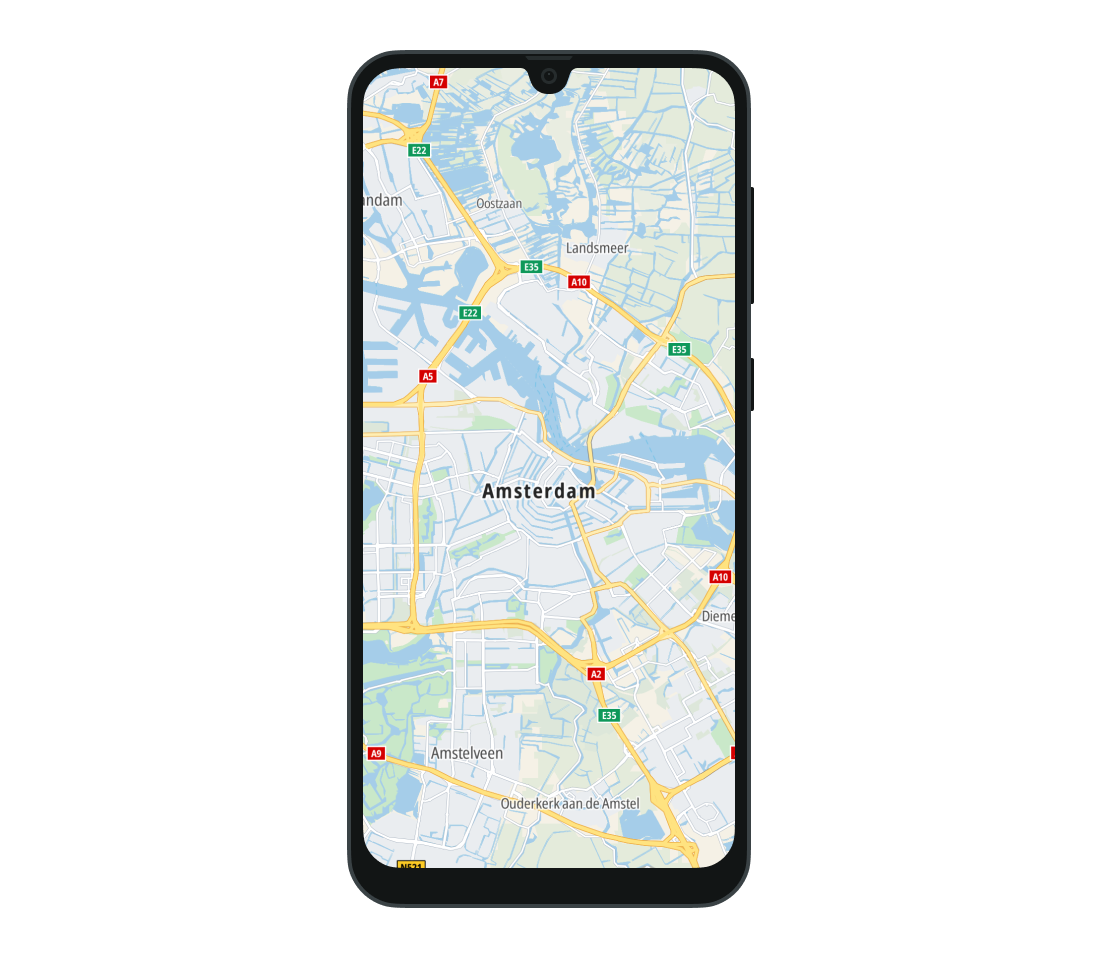
Build and run your application. Upon execution, the map will be displayed, centered on the TomTom Amsterdam Office. You can use gestures like panning and pinch-to-zoom to explore different areas of the map.
MapView APIs
Adding the Standard Map Display Dependency
Follow the Project setup instructions above. Then add the following dependencies to the build.gradle.kts file of your application module and synchronize the project.
implementation("com.tomtom.sdk.maps:map-display-standard:2.5.3")Adding a map
The Map Display module provides several classes and interfaces to operate with the map:
MapView- A view that wraps the map renderer and handles the application lifecycle. Each lifecycle method should be called when its parent lifecycle-aware component changes state.MapFragment- A fragment wrapper for MapView. It manages the lifecycle of the underlying MapView.TomTomMap- The entry point for all methods related to the map.MapOptions- Used for configuring map properties during initialization.MapReadyCallback- An interface that reports if the TomTomMap is ready to be used.
Init MapFragment
There are two ways of creating a MapFragment object: in the Kotlin class or in the layout XML file.
In code
- Add the container for the map to the layout file where you want to display it.
<androidx.fragment.app.FragmentContainerViewandroid:id="@+id/map_container"android:layout_width="match_parent"android:layout_height="match_parent"/>
- Create a
MapOptionsobject. You must pass your API key and requiredinitialCameraOptionsparameter using one of theInitialCameraOptionsfactory methods. Ensure that it supports the Map Display API, Traffic Flow API, and Traffic Incident API. See How to get a TomTom API key to learn how to get the TomTom API key. Both your API key and theinitialCameraOptionsparameter are required. The other configuration options are optional. Read more about them in the Configuring a map guide. - Create an instance of
MapFragmentin theonCreate()method of the activity. If you want to initialize it in a fragment do it in theonCreateView()method.val mapOptions = MapOptions(mapKey = "YOUR_TOMTOM_API_KEY",initialCameraOptions = InitialCameraOptions.LocationBased(position = AMSTERDAM,),)val mapFragment = MapFragment.newInstance(mapOptions) - Set the created
MapFragmentto the container using theFragmentManager.supportFragmentManager.beginTransaction().replace(R.id.map_container, mapFragment).commit()
In XML
- Add a fragment container for the map.
- Declare the TomTom namespace
xmlns:tomtom="http://schemas.android.com/apk/res-auto". - Provide the
android:name="com.tomtom.sdk.map.display.ui.MapFragment"property to the fragment. - Provide your API key with
tomtom:mapKey="YOUR_TOMTOM_API_KEY".<androidx.fragment.app.FragmentContainerViewxmlns:tomtom="http://schemas.android.com/apk/res-auto"android:id="@+id/map_fragment"android:name="com.tomtom.sdk.map.display.ui.MapFragment"android:layout_width="match_parent"android:layout_height="match_parent"tomtom:mapKey="YOUR_TOMTOM_API_KEY" /> - The map can be configured using attributes. Read more about this in the Configuring a map guide.
- At this point, you can obtain the
MapFragmentobject by usingFragmentManager. It is recommended to do this in theonCreate()method of an activity or in theonCreateView()method of a fragment.val mapFragment = supportFragmentManager.findFragmentById(R.id.map_fragment) as? MapFragment
Accessing the TomTomMap
When the map instance is ready to be used, you can access the TomTomMap object asynchronously by setting a callback. Implement the MapReadyCallback interface and provide it to the getMapAsync method. This means that onMapReady is called when the map is fully initialized. From this point the TomTomMap object can be used to access map functionalities like adding a marker or manipulating the camera position.
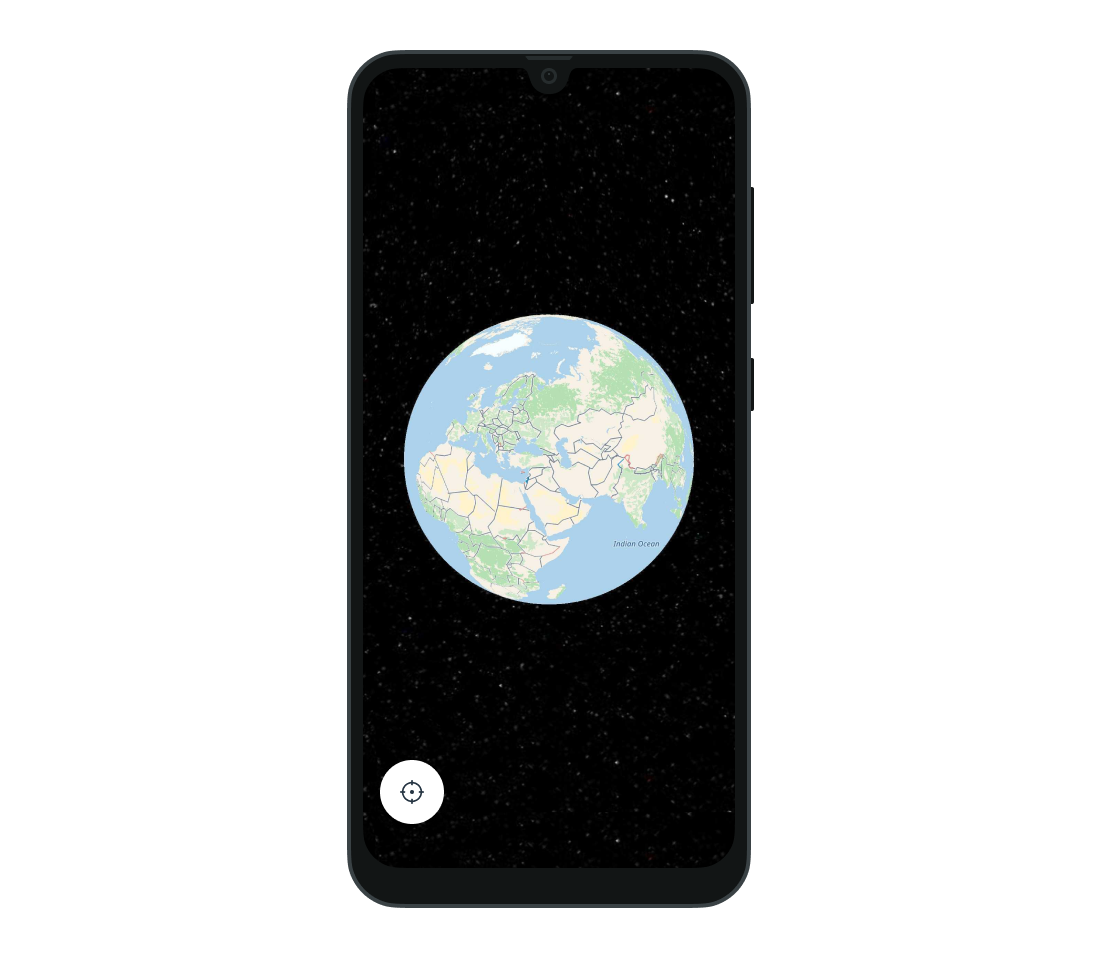
mapFragment.getMapAsync { tomtomMap: TomTomMap -> // Your code goes here}Now, deploy the application to your device or emulator. You should see the map in form of a globe. Use gestures to change the camera position and zoom in to the location you want to browse.